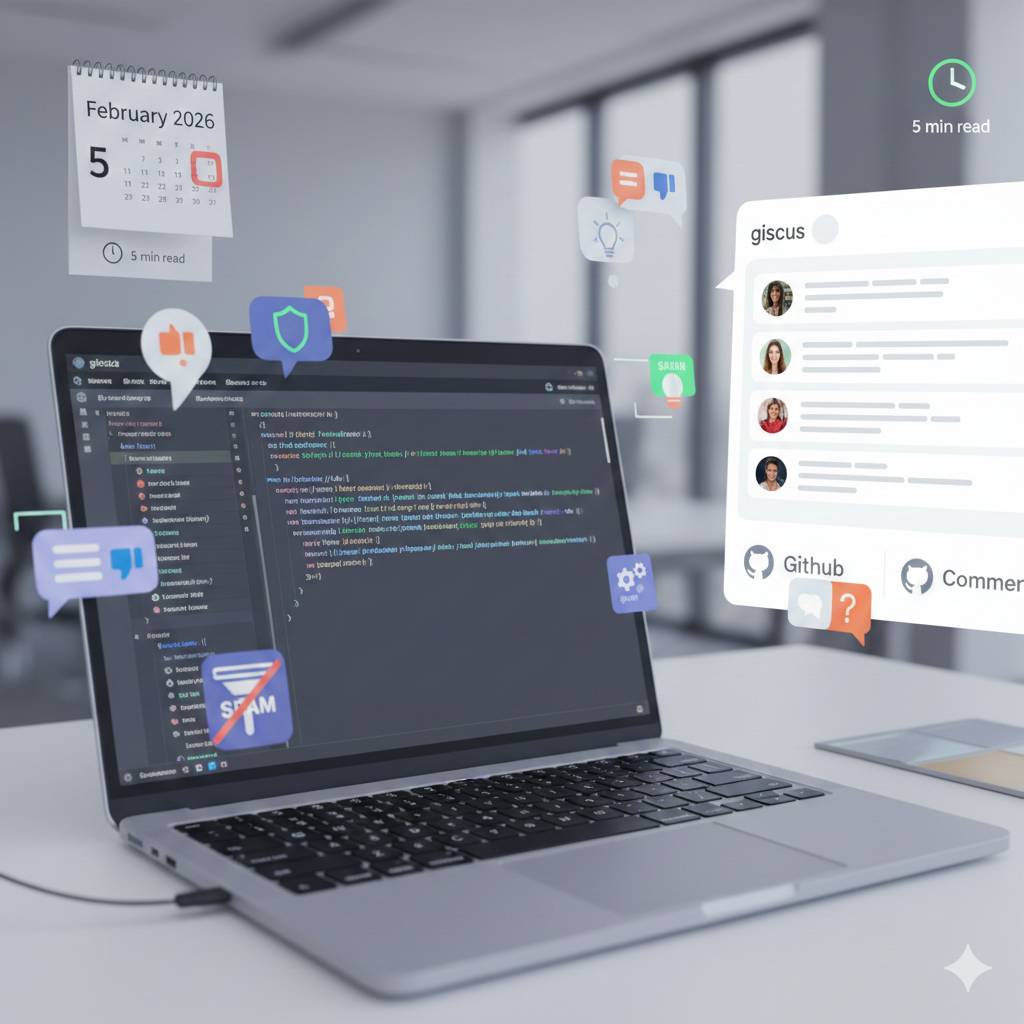
Next.js 블로그 만들기 — 다크모드와 Tailwind CSS v4 테마
Tailwind CSS v4의 CSS-first 설정과 next-themes를 활용한 다크/라이트 모드 구현. 커스텀 프로퍼티 기반 테마 시스템 구축기.
다크모드, 왜 필요한가
요즘 다크모드를 지원하지 않는 웹사이트는 거의 없다. 특히 개발 블로그라면 더더욱. 밤에 코드 보다가 갑자기 하얀 화면이 나오면 눈이 시리기 때문이다.
구현하려는 기능은 세 가지다:
- 다크/라이트 수동 전환
- 시스템 테마 자동 감지
- 새로고침해도 선택한 테마 유지
이걸 직접 구현하려면 localStorage, matchMedia, hydration mismatch 처리 등 신경 쓸 게 많다. 그래서 next-themes를 사용하기로 했다.
next-themes 설정
설치
pnpm add next-themesThemeProvider 적용
루트 레이아웃에 ThemeProvider를 감싸준다:
import { ThemeProvider } from 'next-themes'

export default function RootLayout({ children }) {
  return (
    <html lang="ko" suppressHydrationWarning>
      <body>
        <ThemeProvider
          attribute="class"
          defaultTheme="system"
          enableSystem
        >
          {children}
        </ThemeProvider>
      </body>
    </html>
  )
}
핵심 설정을 짚어보면:
attribute="class"—<html>에dark클래스를 토글하는 방식defaultTheme="system"— 첫 방문 시 OS 테마를 따름enableSystem—prefers-color-scheme미디어 쿼리 감지suppressHydrationWarning— 서버/클라이언트 테마 불일치 경고 방지
토글 버튼 구현
'use client'

import { useTheme } from 'next-themes'
import { useEffect, useState } from 'react'

export default function ThemeToggle() {
  const { resolvedTheme, setTheme } = useTheme()
  const [mounted, setMounted] = useState(false)

  useEffect(() => {
    setMounted(true)
  }, [])

  // hydration mismatch 방지
  if (!mounted) {
    return <div className="h-9 w-9" />
  }

  const isDark = resolvedTheme === 'dark'

  return (
    <button
      onClick={() => setTheme(isDark ? 'light' : 'dark')}
      aria-label={isDark ? '라이트 모드로 전환' : '다크 모드로 전환'}
    >
      {isDark ? <SunIcon /> : <MoonIcon />}
    </button>
  )
}
mounted 상태를 체크하는 이유가 중요하다. 서버에서는 어떤 테마인지 알 수 없기 때문에, 클라이언트에서 mount된 후에만 아이콘을 렌더링해야 hydration mismatch를 피할 수 있다.
Tailwind CSS v4 테마 시스템
v3에서 달라진 점
v4부터는 tailwind.config.js가 사라지고, CSS 파일에서 직접 테마를 정의한다. 이 변화가 꽤 크다.
// ❌ v3 방식 — 더 이상 필요 없음
module.exports = {
  darkMode: 'class',
  theme: {
    extend: {
      colors: {
        accent: '#12b886',
      },
    },
  },
}
/* ✅ v4 방식 — CSS에서 직접 정의 */
@import 'tailwindcss';
@theme {
--color-accent: #12b886;
}다크모드 variant 설정
v4에서 class 기반 다크모드를 사용하려면 @custom-variant를 정의해야 한다:
@custom-variant dark (&:where(.dark, .dark *));주의:
@variant dark (...)문법을 사용하면 에러가 발생한다. 반드시@custom-variant를 사용해야 한다. 이것 때문에 처음에 꽤 헤맸다.
전체 테마 구성
@import 'tailwindcss';

@custom-variant dark (&:where(.dark, .dark *));

@theme {
  --color-accent: #12b886;
  --color-accent-hover: #0ca678;
  --color-bg: #ffffff;
  --color-bg-secondary: #f8f9fa;
  --color-bg-card: #ffffff;
  --color-text: #212529;
  --color-text-secondary: #868e96;
  --color-text-tertiary: #adb5bd;
  --color-border: #e9ecef;
  --color-code-bg: #f1f3f5;
  --font-sans: 'Pretendard', -apple-system, BlinkMacSystemFont, sans-serif;
  --font-mono: 'JetBrains Mono', 'Fira Code', Consolas, monospace;
}
이렇게 정의하면 bg-accent, text-text-secondary, border-border 같은 유틸리티 클래스가 자동으로 생성된다.
다크모드 색상 오버라이드
다크모드 색상은 일반 CSS .dark 셀렉터에서 오버라이드한다:
.dark {
  --color-bg: #1e1e1e;
  --color-bg-secondary: #252525;
  --color-bg-card: #2d2d2d;
  --color-text: #ececec;
  --color-text-secondary: #a0a0a0;
  --color-text-tertiary: #6b6b6b;
  --color-border: #3d3d3d;
  --color-code-bg: #2d2d2d;
}
@theme블록 안에 다크모드 변수를 넣으면 안 된다.@theme은 Tailwind 유틸리티 클래스를 생성하기 위한 블록이고, 다크모드 오버라이드는 일반 CSS에서 처리해야 한다.
이 구조의 장점은 CSS 커스텀 프로퍼티 하나만 바꾸면 전체 테마가 전환된다는 것이다. 컴포넌트마다 dark: prefix를 붙일 필요가 없다.
코드 블록 듀얼 테마
rehype-pretty-code에서 듀얼 테마를 사용하면, 하나의 코드 블록이 light/dark 두 가지 버전으로 렌더링된다. CSS로 현재 테마에 맞는 것만 보여주면 된다:
/* 라이트 모드에서는 dark 테마 코드 숨김 */
html:not(.dark) pre [data-theme='dark'],
html:not(.dark) code[data-theme='dark'] {
  display: none;
}

/* 다크 모드에서는 light 테마 코드 숨김 */
html.dark pre [data-theme='light'],
html.dark code[data-theme='light'] {
  display: none;
}
이렇게 하면 테마 전환 시 코드 블록도 자연스럽게 색상이 바뀐다.
Prose 스타일링
MDX 본문을 위한 .prose 클래스도 직접 작성했다. Tailwind Typography 플러그인 대신 커스텀으로 만든 이유는, Velog 스타일에 더 가깝게 만들고 싶었기 때문이다:
.prose {
  max-width: 768px;
  line-height: 1.8;    /* Velog 스타일의 넓은 행간 */
  color: var(--color-text);
}

.prose h2 {
  font-size: 1.75rem;
  font-weight: 700;
  margin-top: 2.5rem;
  margin-bottom: 0.75rem;
}

.prose blockquote {
  border-left: 4px solid var(--color-accent);
  padding: 0.5rem 1rem;
  background-color: var(--color-bg-secondary);
  color: var(--color-text-secondary);
}
accent 컬러 #12b886은 Velog에서 영감을 받았다. 녹색 계열이 코드/개발 느낌과 잘 어울린다.
레이아웃 완성
레이아웃은 심플하게 구성했다. Navbar + 본문 + Footer, 그게 전부다.
export default function Navbar() {
  return (
    <header className="fixed top-0 right-0 left-0 z-50
      border-b border-border bg-bg/80 backdrop-blur-md">
      <nav className="mx-auto flex h-14 max-w-5xl
        items-center justify-between px-4">
        <Link href="/" className="flex items-baseline gap-2">
          <span className="text-lg font-bold">tera-log</span>
          <span className="text-sm text-text-secondary">개발메모장</span>
        </Link>
        <ThemeToggle />
      </nav>
    </header>
  )
}
bg-bg/80 backdrop-blur-md로 반투명 배경에 블러 효과를 주었다. 스크롤 시 콘텐츠가 navbar 뒤로 살짝 비치는 느낌이 모던하다.
이 시리즈의 다른 글
제목 앞부분이 같은 글 — 묶어 읽으면 흐름이 잡힌다


같은 카테고리 · Next Blog
비슷한 주제의 최신 글
태그가 겹치는 글
공통 태그가 많을수록 위에 보인다